
Incident Response
Data Breach Response: Forensic Preservation vs. Secure Laptop Erasure
By Prashant SainiAugust 31, 2026
Wiping a compromised device too early can destroy the evidence you need for containment and legal response. Here's how to sequence preservation and secure erasure correctly.
There's a specific moment in almost every breach response where two teams want opposite things. IT wants the compromised laptop wiped and back in service — it's a liability sitting on the network. Investigators want it untouched, because it's the only copy of what actually happened. Both instincts are reasonable. Acting on the wrong one first is not.
During the first 48 hours of a ransomware event or a targeted data breach, the pressure from executive leadership is immense. The primary directive is usually "get the business back online." For an IT administrator, a compromised endpoint is a ticking time bomb—a vector that could allow an attacker to pivot horizontally across the network. The immediate, muscle-memory reaction is to pull the machine offline, format the drive, and reimage it from a clean baseline.
However, for a Security Operations Center (SOC) analyst or a third-party digital forensics and incident response (DFIR) consultant, that same machine is a crime scene. It holds the only answers to the most critical questions regulators and cyber insurers will ask: How did the attacker get in? What data did they access? Are they still here? When you rush to wipe a drive before answering these questions, you don't just erase the malware; you erase your only defense against regulatory fines and denied insurance claims.
This tension isn't a communication failure — it's two legitimate priorities colliding under time pressure. IT's job is minimizing business disruption and closing exposure quickly. The investigator's job is establishing exactly what happened, which requires the device to stay exactly as it was at the moment of discovery. The organizations that handle this well are the ones that decided, in advance and calmly, whose priority wins in what order — rather than litigating it in real time while an incident is still active.
Why immediate wiping can destroy forensic evidence
Once a drive is sanitized, whatever evidence lived on it — malware artifacts, attacker timestamps, lateral movement traces, the initial access vector itself — is gone with it. If that device turns out to be central to understanding how an attacker got in, you've lost the ability to answer that question, and possibly the ability to demonstrate reasonable response to regulators or insurers later. Proper forensic evidence preservation post-breach is non-negotiable for a thorough root-cause analysis.
To understand what is lost, consider the anatomy of a Windows filesystem. An attacker’s footprint is scattered across highly volatile data structures. A standard IT wipe immediately destroys the Master File Table (MFT), which tracks when malicious executables were created or modified. It deletes Volume Shadow Copies that might contain earlier versions of encrypted files. It clears out Windows Event Logs, Prefetch files, and Amcache data—the exact artifacts investigators use to prove whether an attacker successfully exfiltrated a database or just encrypted it.
This loss compounds in ways that aren't always obvious at the moment of the decision. An incomplete forensic picture doesn't just leave an academic gap in the incident report — it can leave you unable to confirm whether the attacker's access has actually been fully closed off. If you don't know that the initial compromise happened via a stolen VPN credential cached on that specific laptop, reimaging the laptop does nothing to stop the attacker from logging back in tomorrow.
When to wipe vs preserve forensic evidence
Imaging and maintaining a chain of custody for compromised endpoints
If a device is a plausible source of forensic evidence, the correct first step is a forensic image, taken and logged with a documented chain of custody — who touched it, when, and why. A pristine chain of custody for compromised endpoints ensures that evidence stands up in regulatory or legal reviews.
It is important to distinguish between a logical backup and a bit-for-bit physical forensic image. Dragging files to an external drive or using standard backup software is insufficient for post-breach analysis. DFIR teams require a sector-by-sector physical clone of the drive, capturing unallocated space where deleted files and hidden malware payloads might reside. Once this image is captured, cryptographic hashes (like SHA-256) are generated for both the original drive and the forensic image. These hash values act as a digital fingerprint, proving in court that the evidence was not altered after collection.
Sanitization only happens after that image exists and after whoever owns the investigation confirms the device is no longer needed in its original state. Write this sequence into your incident response plan as a mandatory gate. Only after the legal and forensic teams give the green light should you proceed with deciding on a post breach forensic hold vs wipe.
Legal hold compromised device handling
Legal counsel or your incident response plan may impose a hold on affected devices independent of the technical investigation. A legal hold overrides IT's instinct to clean up quickly. Sanitizing a device under active hold can create its own legal exposure, separate from the breach itself (known as spoliation of evidence).
Spoliation of evidence is a severe legal misstep. If a company is sued by affected customers or investigated by a government body (like the FTC or GDPR regulators), and it is discovered that compromised hardware was wiped before investigators could examine it, courts can issue an "adverse inference." This means the court will legally assume that the destroyed evidence would have proven the company was at fault. The financial penalties for spoliation can sometimes exceed the fines for the actual data breach.
The moment a breach is confirmed is the moment to ask directly whether any devices need to be preserved. Courts and regulators have shown little patience for the idea that evidence was destroyed "in the ordinary course of IT operations" during an active investigation.
Reimage vs destroy hard drive after hack
Rebuild/reimage vs permanent sanitization
Once preservation requirements are satisfied, most operational devices get reimaged and returned to service. However, some hardware shouldn't go back into service at all due to firmware-level persistence removal concerns. Advanced persistent threats (APTs) often compromise a system below the OS layer, which brings up the question of ransomware infected hardware disposal.
Modern malware, particularly sophisticated ransomware strains and state-sponsored tools, are increasingly targeting the Unified Extensible Firmware Interface (UEFI) or the BIOS. Threats like the BlackLotus bootkit embed themselves in the SPI flash memory on the motherboard or within hidden partitions on the drive. Because these areas execute before the Windows operating system even loads, a standard IT wipe, factory reset, or OS reinstallation will completely miss them. The moment the "clean" OS boots up, the firmware rootkit re-infects the system.
If an incident report can't say with certainty that the compromise stayed above the firmware layer, the safer decision is full retirement. This is where you must ask how to completely wipe a compromised laptop and perform secure file erasure without skipping any folders, hidden sectors, or Host Protected Areas (HPA). The erasure tool must bypass system noise filters to ensure comprehensive file erasure without skipping folders. For single devices, IT admins might occasionally rely on built-in tools like a BIOS-level SSD wipe, but at a corporate scale, this lacks the verification required by compliance frameworks. When dealing with extreme firmware infections, the hardware itself might need to be physically shredded after logical data sanitization.
Reporting & Certificates: Proof of data destruction post-breach
Whichever path a device takes, the record of what happened to it matters. When evaluating how to securely erase ransomware infected drive, IT teams must ensure the tool meets NIST 800-88 sanitization report requirements.
Using professional erasure software generates a professional text-based erasure certificate. This documentation serves a dual purpose: it provides unquestionable proof of data destruction post breach and satisfies compliance audits. When generating these logs with tools like D-Secure Drive Eraser and File Eraser, the output follows the exact NIST 800-88 sanitization report format, prioritizing detailed, small-text forensic data over unnecessary graphics or icons to provide a clean audit report.
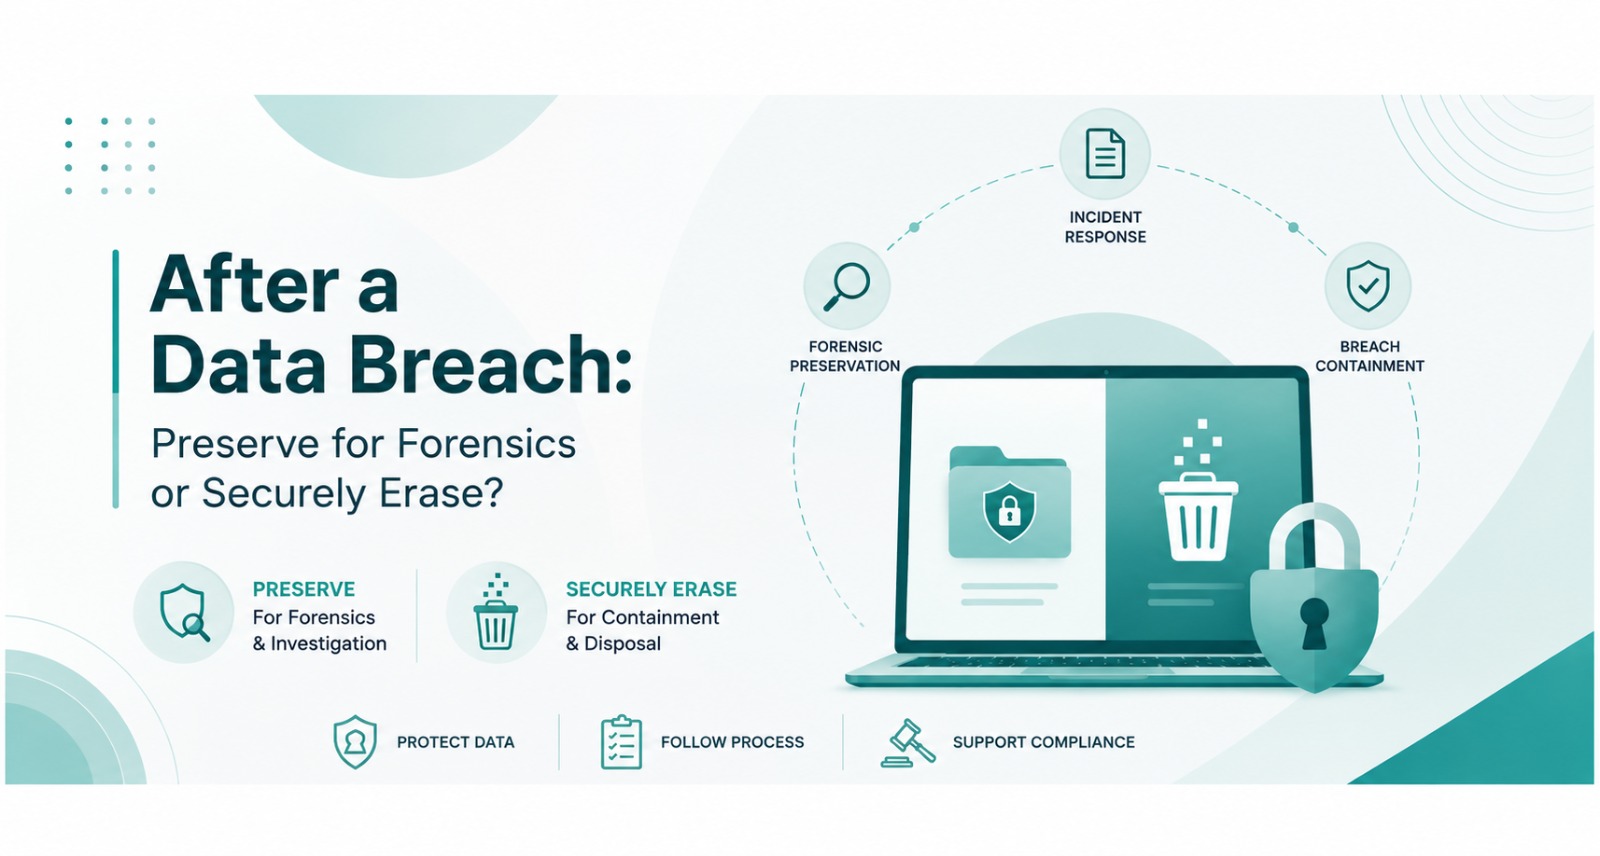
A breach-device decision tree
In practice, the sequence looks like this:
- Is the device forensically relevant? If yes, image and hold.
- Is it still needed for ongoing investigation or legal hold?
- If no, is it fit to return to service?
- If yes, reimage; if no, sanitize and retire with documented evidence.
Put this sequence in writing somewhere both IT operations and incident response can see it, ideally as a one-page flowchart pinned into the incident response runbook.
Do you need to wipe a laptop after ransomware?
Yes, but only after a forensic image has been captured and the investigation team has cleared the device. Once cleared, you must use a standards-compliant erasure tool to completely wipe the compromised laptop, ensuring firmware-level persistence is removed before the hardware is reused or retired.
Conclusion
The rule of thumb worth keeping on a laminated card near the incident response binder: preserve first, decide second, sanitize last — and only once someone with authority over the investigation has actually said the device is clear. D-Secure's Drive Eraser and File Eraser fit in after that decision is made, guaranteeing compliance through cryptographic and block-level overwrites, and giving you the exact proof of data destruction post-breach required by auditors.
Frequently Asked Questions
You should only wipe a compromised device after a complete forensic image has been captured, the chain of custody is documented, and the legal or incident response team has explicitly lifted the investigative hold. Wiping a device immediately to return it to production destroys crucial evidence needed to trace the attacker’s initial access and lateral movement.
To wipe a compromised laptop completely, you cannot rely on simple factory resets. You must use compliance-verified data erasure software that bypasses the operating system and sends low-level firmware commands to target every physical memory cell on the drive, generating a verified certificate afterward.
Standard deletion or quick formatting often leaves hidden artifacts. To completely sanitize an endpoint, it is critical to use a data erasure tool configured to bypass default OS noise filters so that it does not skip any file or folder. Attackers frequently hide persistent payloads in restricted or deep system directories, meaning an absolute, comprehensive file erasure without skipping folders is the only safe approach.
Regulators and cyber insurers require documented evidence aligning with NIST 800-88 Rev 2 validation standards. The most effective compliance certificates focus entirely on technical hardware verification data. Generate clean, professional text-based erasure certificates that remove unnecessary graphical icons and use small, professional text formatting, ensuring the NIST 800-88 sanitization report format is clear, strictly technical, and easy for legal teams to review.
Yes. A standard IT reimage cycle overwrites the master file table and system partitions, immediately wiping out malware artifacts, access timestamps, and memory dumps. While reimaging is the fastest way to return hardware to service, it must never be done before forensic preservation is complete.
If your incident response investigation cannot verify with certainty that a compromise remained above the firmware level (such as UEFI/BIOS rootkits), standard logical drive wiping may not be sufficient. In these specific cases of ransomware infected hardware disposal, permanently retiring the device and utilizing secure physical destruction is the safest and most cost-effective containment decision.
Compliant Post-Breach Erasure with D-Secure
Generate tamper-evident, text-based certificates that satisfy regulators and prove complete eradication of malware persistence.
Solutions for Security
Explore the full D-Secure data security suite
Drive EraserNIST 800-88 compliant HDD & SSD secure erasure
Smartphone Erasercompliant iOS & Android mobile data wipe
File EraserSecure file & folder shredding beyond Recycle Bin
Expert Solution
How Do Experts Handle This?
Enterprise-grade data sanitization requires more than just standard deletion. Experts use professional software like Drive Eraser to ensure 100% data destruction across all media types.
Standard Compliance
Meeting NIST 800-88 and GDPR standards with full audit trails.
Enterprise Ready
Scalable solutions for ITAD partners and large organizations.
Securing Data Everywhere
Trusted by global enterprises for zero-leakage data sanitization.
100%
Verified
0
Leaks
24/7
Support
Comments (0)
Your email address will not be published. Providing an email is optional.
Have Questions About This Topic?
Send us an enquiry regarding: Forensic Preservation vs. Secure Laptop Erasure
No comments yet. Be the first to comment.