
SSD Data Erasure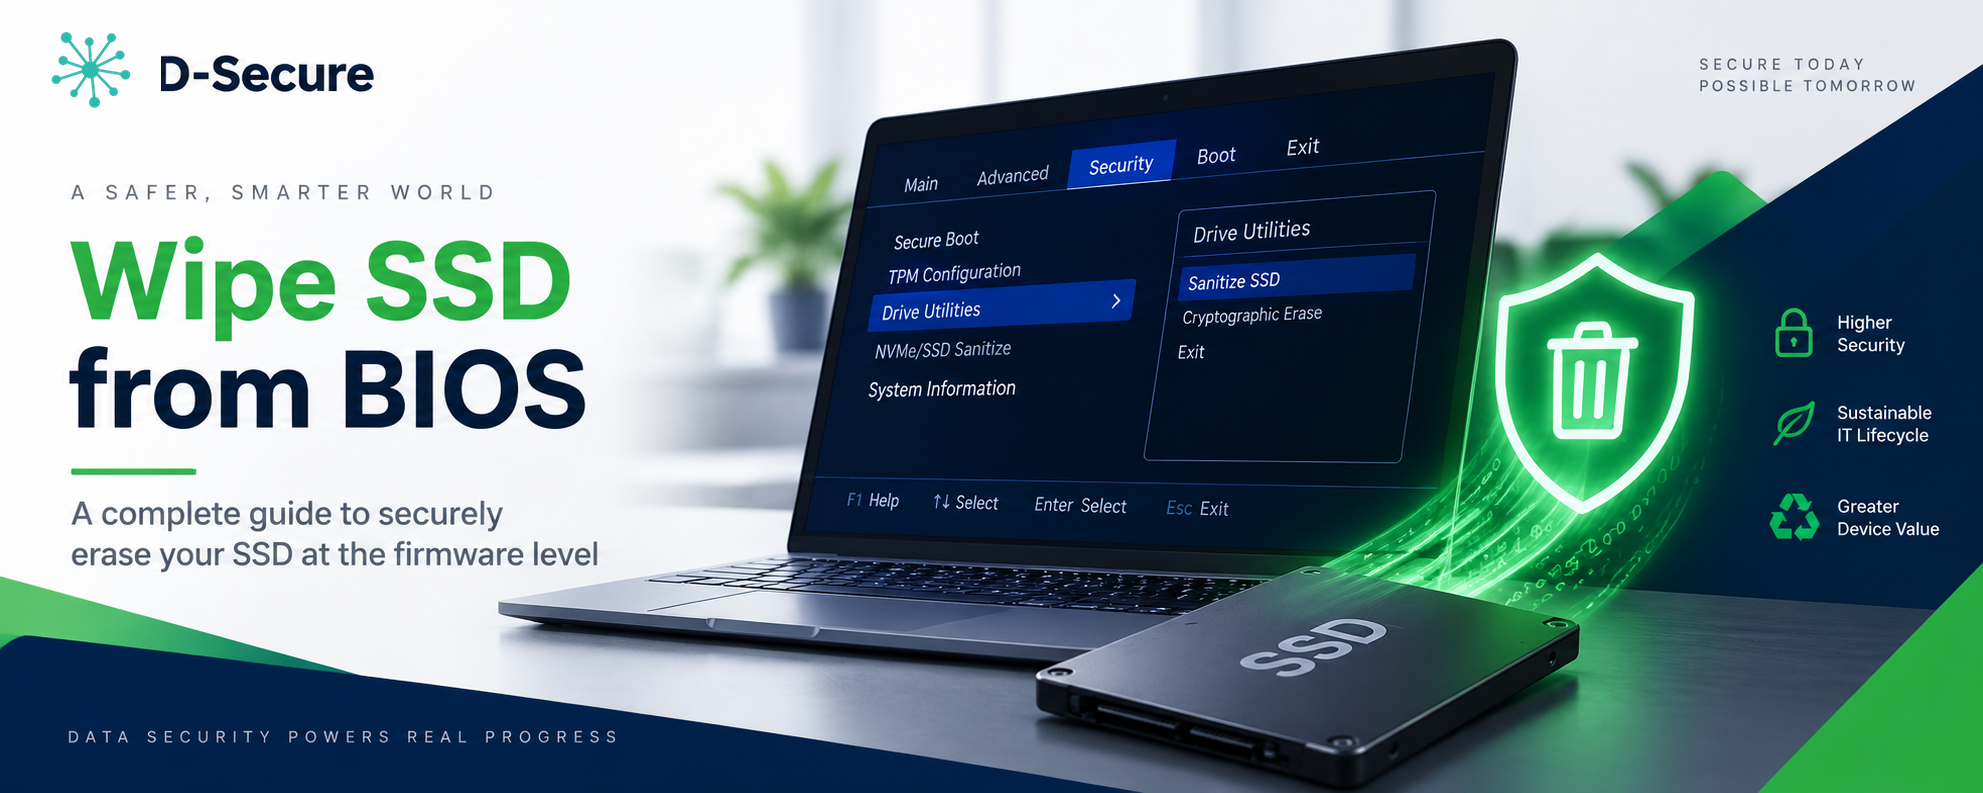
How to Wipe an SSD from BIOS: Complete Guide
By Prashant SainiJuly 14, 2026Last reviewed: August 2026
Most BIOS Secure Erase guides cover a single laptop model and stop there. This guide covers the menu paths across major manufacturers, the fix for a Frozen drive, and why IT teams still need compliant data-wiping software once you're erasing more than one machine.
What is BIOS Secure Erase? (Quick Answer)
BIOS Secure Erase sends a firmware-level command that resets an SSD's storage cells, making previously stored data unrecoverable through normal means. It works without booting into an OS, but the exact menu location differs by manufacturer, it often requires the drive to have a password set first, and it produces no report or audit trail — which is why it isn't sufficient for regulated data disposal.
Before You Rely on This: A 90-Second Reality Check
BIOS Secure Erase reports "success" the moment the command finishes — it can't tell you if the wipe actually reached every cell. On SSDs, wear-leveling means the drive's own controller decides which physical cells get touched, not your BIOS. Erasing just one personal drive? The steps below are enough. Wiping multiple devices for resale, donation, leasing, or compliance?
See how D-Secure Drive Eraser closes the verification gap →What Is BIOS Secure Erase, Really?
"Secure Erase" in a BIOS/UEFI menu is usually a front-end for the ATA Security Erase Unit command on SATA SSDs — a command built into the drive's own firmware that resets the drive's internal encryption key or flash mapping table, rather than writing zeros sector-by-sector like an old-style HDD wipe.
NVMe SSDs don't use the ATA command set at all. Their equivalent is the NVMe Format NVM command (with the secure-erase setting enabled) or the newer Sanitize command, which some BIOS implementations expose and others don't. If your BIOS's "Secure Erase" tool only lists SATA drives, that's expected — not a bug — and you'll need a manufacturer utility or a bootable tool for the NVMe drive.
Either way, the process is different from TRIM. TRIM only tells the controller which blocks are no longer in use; the actual clearing happens later, whenever the drive's garbage collector gets around to it. TRIM is good for SSD performance — it is not a sanitization method.
Before You Begin
- Back up anything you need. Secure Erase is irreversible — there's no recovery step afterward.
- Remove BitLocker/FileVault or any OS-level disk encryption first — some BIOS tools behave unpredictably on drives with active OS-level encryption.
- Know whether it's your boot drive. You can Secure Erase the drive Windows is installed on since the operation runs from firmware — but you'll need reinstallation media ready.
- Check the drive isn't "Frozen" (see Troubleshooting below) — this is the single most common reason Secure Erase fails.
How do I wipe an SSD from the BIOS? (Step-by-Step)
1
Access UEFI BIOS
Power on (or restart) and press the BIOS entry key repeatedly. It varies by brand: F1 (Lenovo), F2 (Dell, ASUS), F10 (HP), F12, Delete, or Esc.
2
Navigate to Security or Tools Menu
Look for Secure Erase, Security Erase HDD Data, Data Wipe, or similarly named options — naming varies by manufacturer (table below).
3
Select the Target Drive
If more than one drive is listed, double- and triple-check you've selected the correct one — there's no undo.
4
Confirm and Enter Password
The BIOS will warn that all data will be erased. Confirm to proceed. Enter the disk password if prompted — several implementations require the ATA password to be set first.
5
Wait for Completion
Don't interrupt power during this step. You'll see a confirmation such as "Security erase complete successfully" when done.
Where is the Secure Erase menu located for Dell, HP, Lenovo, and ASUS?
| Manufacturer | Entry Key | Menu Path | Notes |
|---|---|---|---|
| ASUS | Del or F2 | Tool → ASUS Secure Erase | Covers SATA and NVMe; drive must show "Ready," not "Frozen" |
| Dell | F2 | Security → Data Wipe → "Wipe on Next Boot" | Wipes all internal drives; select post-2015 models only |
| HP | F10 or Esc | Security → Hard Drive Utilities → Secure Erase | Availability depends on model/BIOS version |
| Lenovo | F1 | Security → Security Erase HDD Data | Only appears if SSD has a password set |
Why is the Secure Erase option missing or the drive Frozen?
Two problems account for most failed attempts:
The Secure Erase option isn't in the menu at all
This usually means: the BIOS is outdated (update it from the manufacturer's support site), the drive doesn't support ATA Security/Sanitize commands, or — as with some Lenovo models — the SSD needs a password set before the menu entry even appears.
The drive shows as "Frozen"
This is an ATA security state, not a malfunction — many systems set drives to Frozen automatically at boot as a safety measure. To clear it: put the laptop to sleep and wake it right before running Secure Erase, or on a desktop, hot-swap the drive's data/power cable (unplug, wait a few seconds, reconnect) and refresh the BIOS tool.
Is BIOS-level SSD wiping secure for business use?
BIOS Secure Erase is a reasonable option for a single personal device. It breaks down at organizational scale:
Single Drive Only
Each SSD is erased individually — impractical across dozens or hundreds of assets.
No Erasure Reports
There's no certificate or log proving the erasure happened, which fails most audit and compliance requirements outright.
Password Dependency
On several implementations, the feature is only reachable if the drive already has a password set — a step most devices skip.
No Independent Verification
Beyond the on-screen "success" message, there's no way to confirm every block was actually sanitized.
Manufacturer Inconsistency
Menu names, paths, and even NVMe support vary by brand and BIOS version, with no single standard interface.
No Audit Trail
No record of which technician erased which asset, when, or under what policy — a requirement for GDPR, HIPAA, SOX.
No Sanitization-Level Control
BIOS tools don't distinguish between NIST 800-88 Clear, Purge, or Destroy — you can't select a stronger method for higher-sensitivity data.
The Data You Think Is Gone, Usually Isn't
Industry research on resold and donated drives has repeatedly found the majority still contain recoverable data — a widely cited industry study recovered residual data from 78% of used drives purchased on the open market. On the SSD side specifically, 2025 flash-sanitization research found a single-pass overwrite can still leave anywhere from 4% to 75% of data recoverable, because wear-leveling remaps writes away from the sectors a software wipe targets. BIOS Secure Erase gives you no way to check which side of that range your drive lands on: no verification, no report, no proof.
Erase With Verification & Proof — See Drive Eraser →Where BIOS Erase Fits Under NIST 800-88
NIST SP 800-88 defines three sanitization levels: Clear (logical overwrite of user-addressable space), Purge (cryptographic or block erase strong enough to resist lab-grade recovery), and Destroy (physical destruction). A single BIOS Secure Erase pass on an SSD generally lands at Clear-to-Purge depending on the drive's own implementation — but because there's no report, you have no documented proof of which level was actually achieved, which is precisely what auditors ask for.
Don't Let "Successful" Mean "Unproven"
BIOS Secure Erase can tell you the command ran. It can't tell you the data is actually gone, and it leaves nothing to show an auditor, a compliance officer, or a future buyer if this drive is ever questioned. D-Secure Drive Eraser erases SSDs of all types — SATA, NVMe, SAS, SED — plus HDDs, PCs, laptops, and Mac devices, at NIST 800-88 Clear/Purge levels with a documented, tamper-evident certificate for every drive.
BIOS Secure Erase vs. D-Secure Drive Eraser
| Feature | BIOS Secure Erase | D-Secure Drive Eraser |
|---|---|---|
| Multiple drives | One at a time | Simultaneous, bulk erasure |
| Erasure reports | None | Tamper-evident certificates per drive |
| Verification | Not available | Built-in post-erasure verification |
| Standards support | Varies by manufacturer | NIST 800-88, DoD 5220.22-M, IEEE 2883 & more |
| Password requirement | Often required | Not required |
| Compliance documentation | None | Audit trail for GDPR, HIPAA, SOX |
Frequently Asked Questions
To wipe an SSD from the BIOS, first restart your computer and repeatedly press the manufacturer-specific entry key (such as F1, F2, F10, F12, Delete, or Esc) during the boot screen to enter the UEFI/BIOS setup. Once inside, navigate to the 'Security', 'Tools', or 'Advanced' menu, where you will find an option labeled 'Secure Erase', 'Data Wipe', or 'Security Erase HDD Data'. Select this option, carefully choose the target SSD you wish to erase, and confirm the warning prompts. Keep in mind that some manufacturers may require you to set an Administrator or Disk password before the Secure Erase option becomes visible or executable.
While the technical erasure process executed by a BIOS Secure Erase is legitimate and permanently destroys data on a single drive, it is fundamentally inadequate for corporate or enterprise environments. BIOS utilities do not generate any form of verifiable audit trail, erasure certificate, or tamper-proof log. Compliance frameworks like GDPR, HIPAA, and SOX require documented proof that data was irreversibly destroyed. Without an audit-ready report detailing the drive's serial number, the erasure standard used, and the exact timestamp of completion, an organization cannot legally prove the data was sanitized.
Support for NVMe drives depends entirely on the age and tier of your motherboard. Many older or budget BIOS Secure Erase tools were built exclusively around the SATA/ATA security command set. Consequently, if you have an NVMe drive installed, these older utilities simply won't list the drive as an available target. However, newer implementations—such as Dell's Data Wipe or modern ASUS BIOS versions—fully support NVMe drives by sending the NVMe Format NVM or Sanitize command. If your BIOS doesn't detect your NVMe SSD, you must use the SSD manufacturer's bootable software.
No, BIOS Secure Erase is not universally compatible with all SSDs. Its success depends on three factors: whether the SSD firmware supports the standard ATA Security or NVMe Sanitize command sets, whether the motherboard's BIOS correctly exposes those commands, and the drive's current security state. Some OEM drives have locked or customized firmware that disables native secure erase commands. Additionally, if a drive is in a 'Frozen' security state—a common protective measure applied by the OS during boot—the BIOS tool will fail to execute the command until the drive is power-cycled.
Wiping an SSD is fundamentally different from a hard disk drive (HDD) because of how flash memory operates. HDDs store data magnetically on spinning platters, allowing software to predictably overwrite every sector with zeros. SSDs, however, use complex wear-leveling algorithms controlled by the drive's firmware, which dynamically remaps logical addresses to different physical NAND cells. Because of this abstraction, traditional overwrite software cannot force writes to specific physical cells. Therefore, SSDs require a firmware-level 'Secure Erase' command that bypasses the OS and resets all memory cells simultaneously.
The most reliable native method to securely erase an NVMe SSD is invoking the 'NVMe Sanitize' command. Unlike older formatting methods, the Sanitize command operates at the firmware level, ensuring that data across all caches, user data areas, and over-provisioned spaces is permanently purged. For personal use, this can be triggered via the motherboard BIOS or the manufacturer's dashboard software. However, for business use, the absolute best method is using compliant, standards-aligned data erasure software. This software triggers the Sanitize command, performs post-wipe verification, and generates a digitally signed Certificate of Erasure.
No, it is highly unsafe to donate, sell, or recycle an SSD relying solely on a Windows 'Factory Reset' or standard OS reinstallation. A factory reset generally performs a high-level format, which only deletes the file system's master file table (MFT) or directory pointers. It effectively tells the operating system that the space is available for new data, but the original files remain completely intact in the flash memory cells. Anyone with basic data recovery software can easily extract your personal photos and documents. Always perform a firmware-level Secure Erase before parting with your drive.
Formatting an SSD does not reliably delete data in a way that prevents recovery. A 'Quick Format' simply clears the file allocation table, leaving the actual data blocks untouched and easily recoverable. Even a 'Full Format' in modern Windows versions is flawed when applied to SSDs because the drive's wear-leveling controller will redirect those writes, potentially leaving older data trapped in inaccessible flash blocks. To guarantee complete flash-level sanitization, you must avoid traditional formatting and instead issue a hardware-level Secure Erase command to purge all stored electrons.
Yes, Cryptographic Erasure (also known as Crypto Erase) is one of the fastest and safest methods for sanitizing modern SSDs, provided the drive is a Self-Encrypting Drive (SED) with always-on hardware encryption. When you initiate a Crypto Erase, the drive instantly deletes its internal Media Encryption Key (MEK) and generates a new one. Because all data on the drive was encrypted with the now-destroyed key, the entire contents of the drive instantly become mathematically impossible to decrypt. This method takes less than two seconds and is recognized by NIST 800-88 guidelines.
Traditional overwrite tools like DBAN were designed for magnetic hard drives. SSDs use complex wear-leveling algorithms that dynamically move data around. Because of this, when you use a zero-fill tool, the SSD's controller hides certain over-provisioned blocks, meaning the software physically cannot reach all your data. Furthermore, forcing multiple overwrite passes causes severe, unnecessary degradation to the SSD's lifespan. A firmware-level Secure Erase instructs the controller to reset all NAND cells (or dump the encryption key), safely destroying the data in seconds without degrading the drive.
The duration of a Secure Erase depends largely on the method the SSD uses. If your SSD is a Self-Encrypting Drive (SED), a Cryptographic Erase takes literally 1 to 2 seconds, because it simply deletes the internal AES encryption key. For non-SED SSDs, a standard Block Erase command forces a voltage reset across all NAND flash memory cells simultaneously, which typically takes anywhere from 10 seconds to a couple of minutes. In contrast, a traditional multi-pass software wipe on a hard drive can take 3 to 12 hours.
Not all motherboard manufacturers include a dedicated Secure Erase tool in their BIOS/UEFI. If you cannot find the option, the safest alternative is to use the proprietary SSD management software provided by your drive's manufacturer. Tools like Samsung Magician, Western Digital Dashboard, Kingston SSD Manager, or Crucial Storage Executive all have built-in Secure Erase features. They allow you to create a bootable USB to bypass the OS and send the ATA Security or NVMe Sanitize command directly to the drive firmware.
Professional SSD Erasure with D-Secure
Go beyond BIOS limitations with compliant, compliance-ready SSD erasure. Get verification, reports, and audit trails for every drive.
Solutions for Guide
Explore the full D-Secure data security suite
Drive EraserNIST 800-88 compliant HDD & SSD secure erasure
Smartphone Erasercompliant iOS & Android mobile data wipe
File EraserSecure file & folder shredding beyond Recycle Bin
Expert Solution
How Do Experts Handle This?
Enterprise-grade data sanitization requires more than just standard deletion. Experts use professional software like Drive Eraser to ensure 100% data destruction across all media types.
Standard Compliance
Meeting NIST 800-88 and GDPR standards with full audit trails.
Enterprise Ready
Scalable solutions for ITAD partners and large organizations.
Securing Data Everywhere
Trusted by global enterprises for zero-leakage data sanitization.
100%
Verified
0
Leaks
24/7
Support
Comments (0)
Your email address will not be published. Providing an email is optional.
Have Questions About This Topic?
Send us an enquiry regarding: SSD Wipe from BIOS Guide
No comments yet. Be the first to comment.